Using React Navigation 5 with UI Kitten

Artur Yorsh
UI Kitten TeamThis is a guest post by the UI Kitten team. If you like this guide, checkout UI Kitten for more! In this blog post, we'll show a step-by-step guide on using React Navigation 5 with UI Kitten.
Introduction#
The new React Navigation comes with several significant improvements such as improving animation performance with gesture-handler and reanimated libraries. What's more, it was migrated to TypeScript for improving the quality of your code base with type checking and more. But the biggest update is migrating to component-based API.
Eva Design System is a customizable Design System that is easy to adapt to your brand. It provides Mobile and Web component libraries and allows businesses to quickly create beautiful unique branding themes. The React Native realization of Eva Design System includes UI Kitten, React Native framework for building modern cross-platform mobile applications.
The UI Kitten team started actively using React Navigation alpha and we're proud to announce the full compatibility to the new React Navigation API. In this guide, we won't consider how to implement all of the boilerplate stuff like auth screens. Instead, we will learn how to navigate between screens using Drawer, Bottom Tabs, Top Tabs, and Stack navigators to build a TODO-App. Furthermore, we'll demonstrate using React Navigation with UI Kitten components.
Overview#
React Navigation 5 is nothing else rather than simplifying navigation structure in your app.
To create a navigator, you import createXNavigator function from the navigator package of your choice and use Navigator and Screen components from the value it returns.
Unlike the previous React Navigation versions, all the screens used inside a navigator are passed as child elements with wrapping it to a Screen component. If you need to set up additional navigator configuration like configuration of the header, you can simply pass corresponding props directly to the Navigator component.
Getting started#
Clone the project from GitHub. It contains all the required source code for the initial setup.
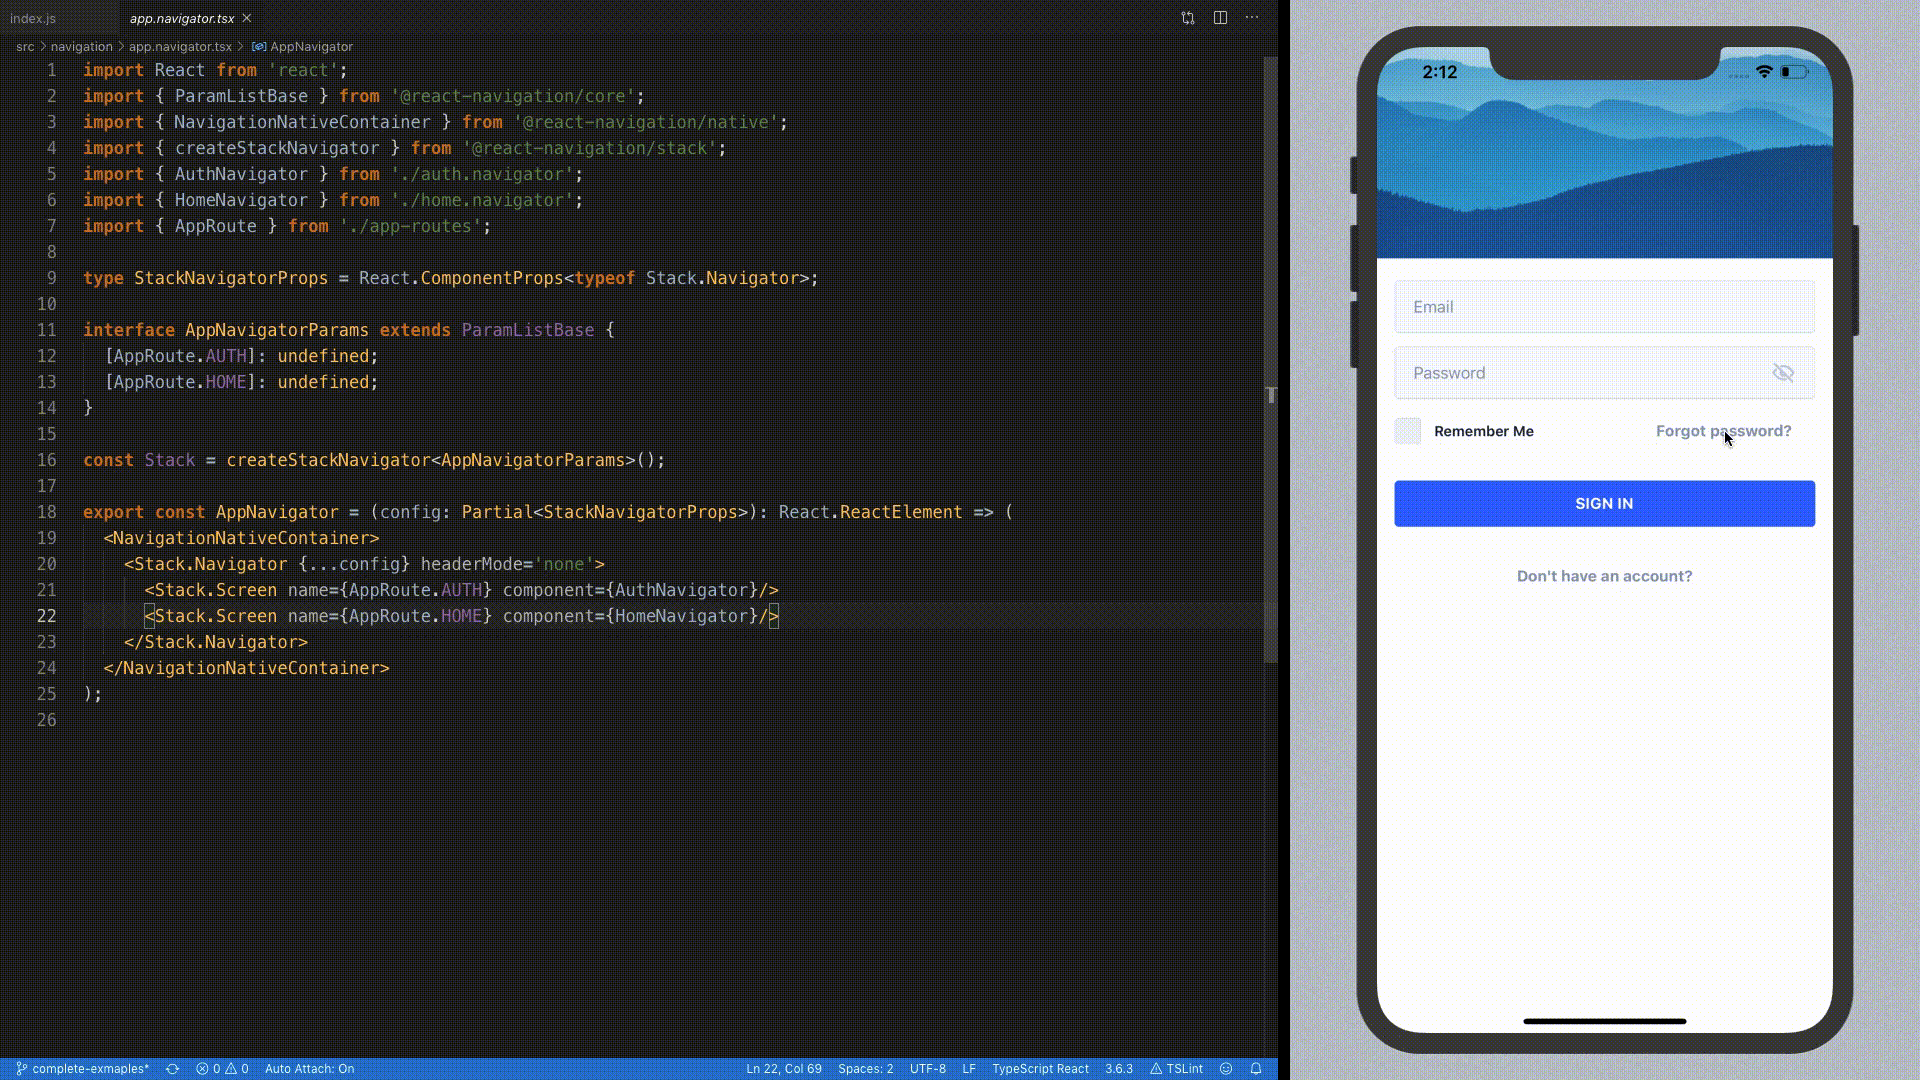
Step 1. Authentication flow#
Assuming that your app users will need to authorize before getting to the home screen, we will need to create both Authentication and Home navigators. Then we're going to combine it with simple stack navigation and pick the initial screen depending on the user authorization status.
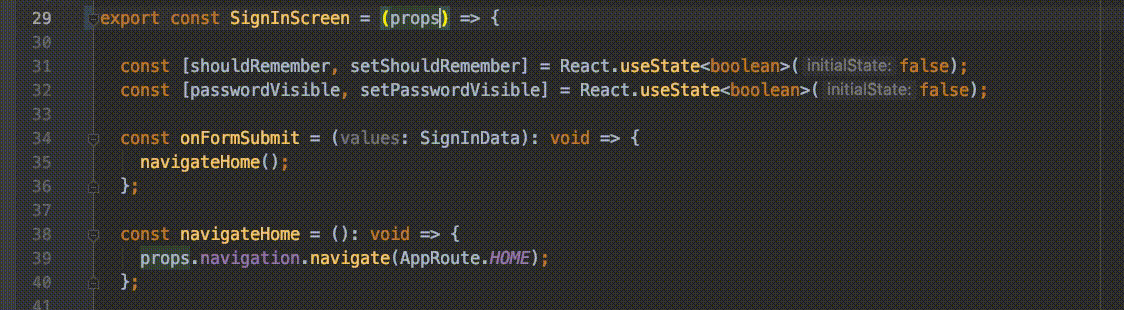
Open ./src/navigation/auth.navigator.tsx` file and paste the following code:
In this example, we're using a createStackNavigator function to create simple stack navigation between Sign In, Sign Up and Reset Password screens. Under Stack Navigator we mean the default navigation behavior between screens: with slide-from-right animation on iOS, and slide-in-top on Android.
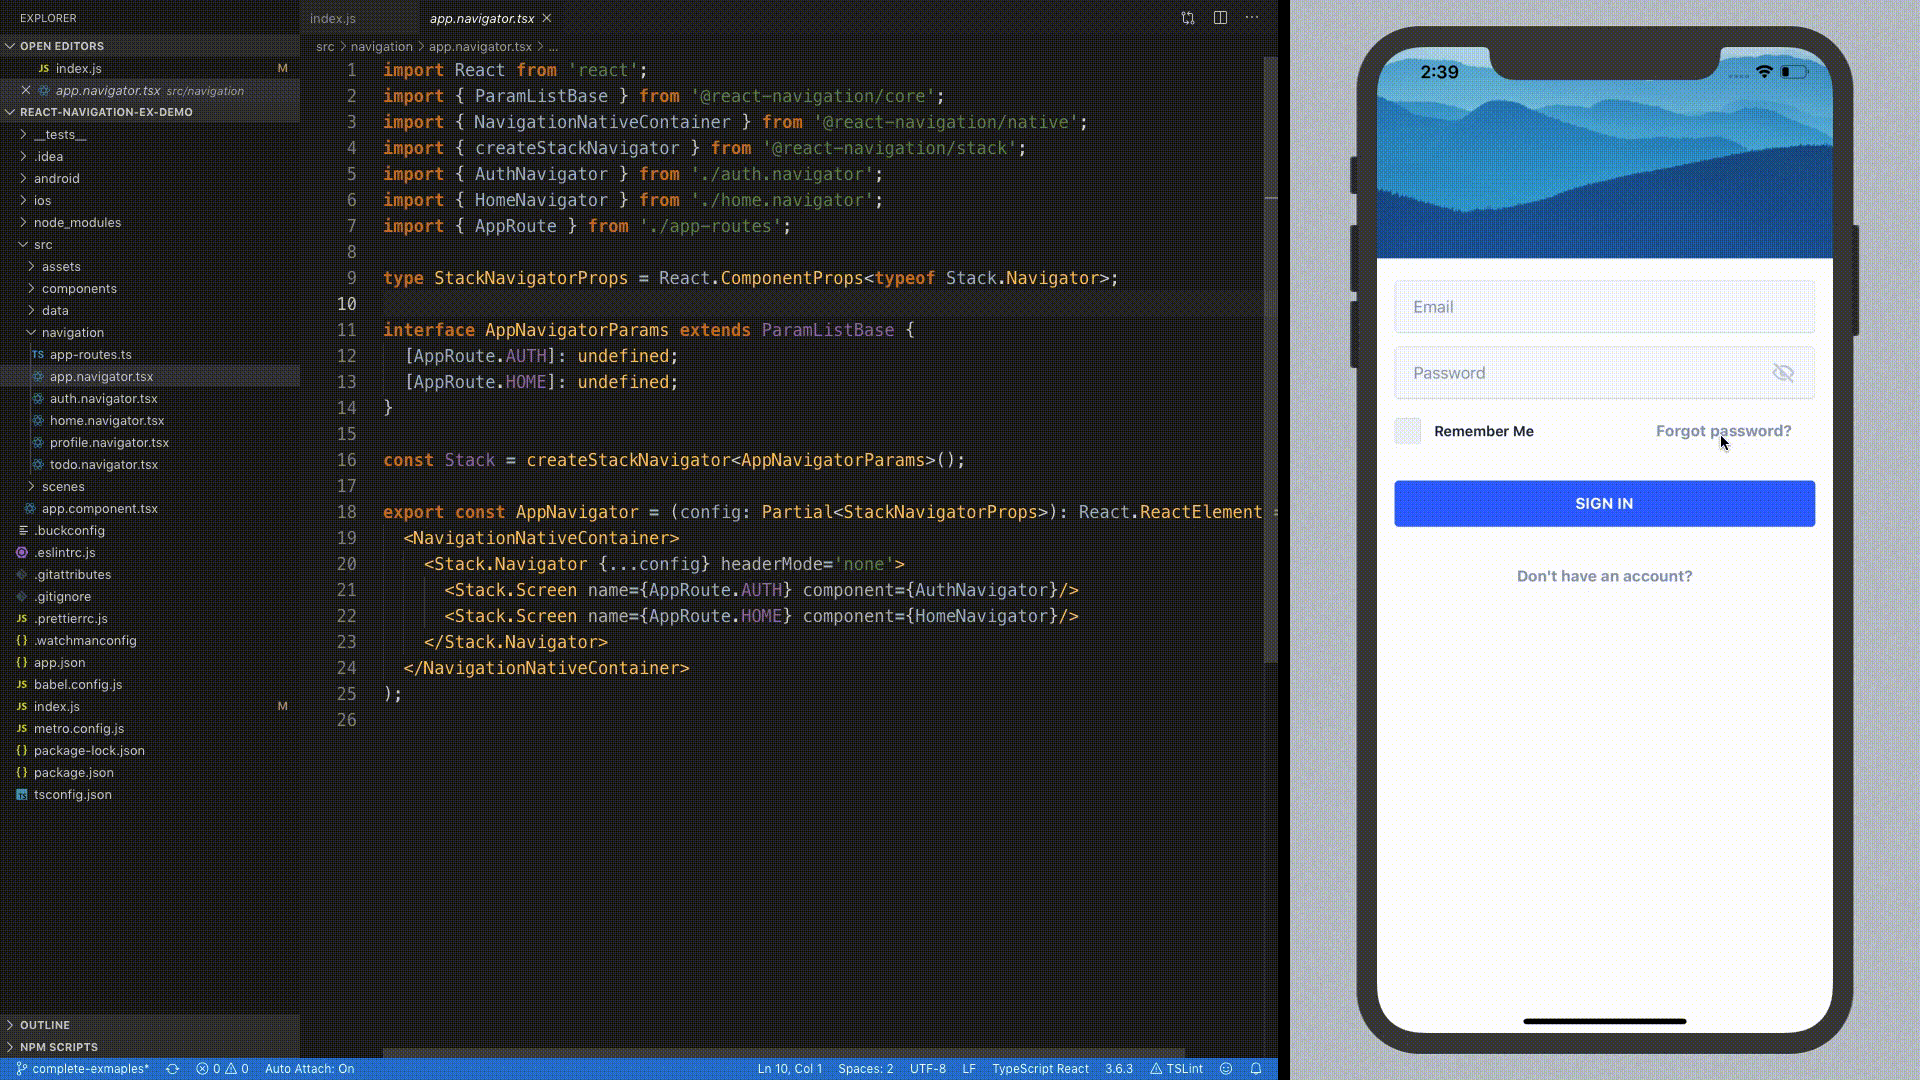
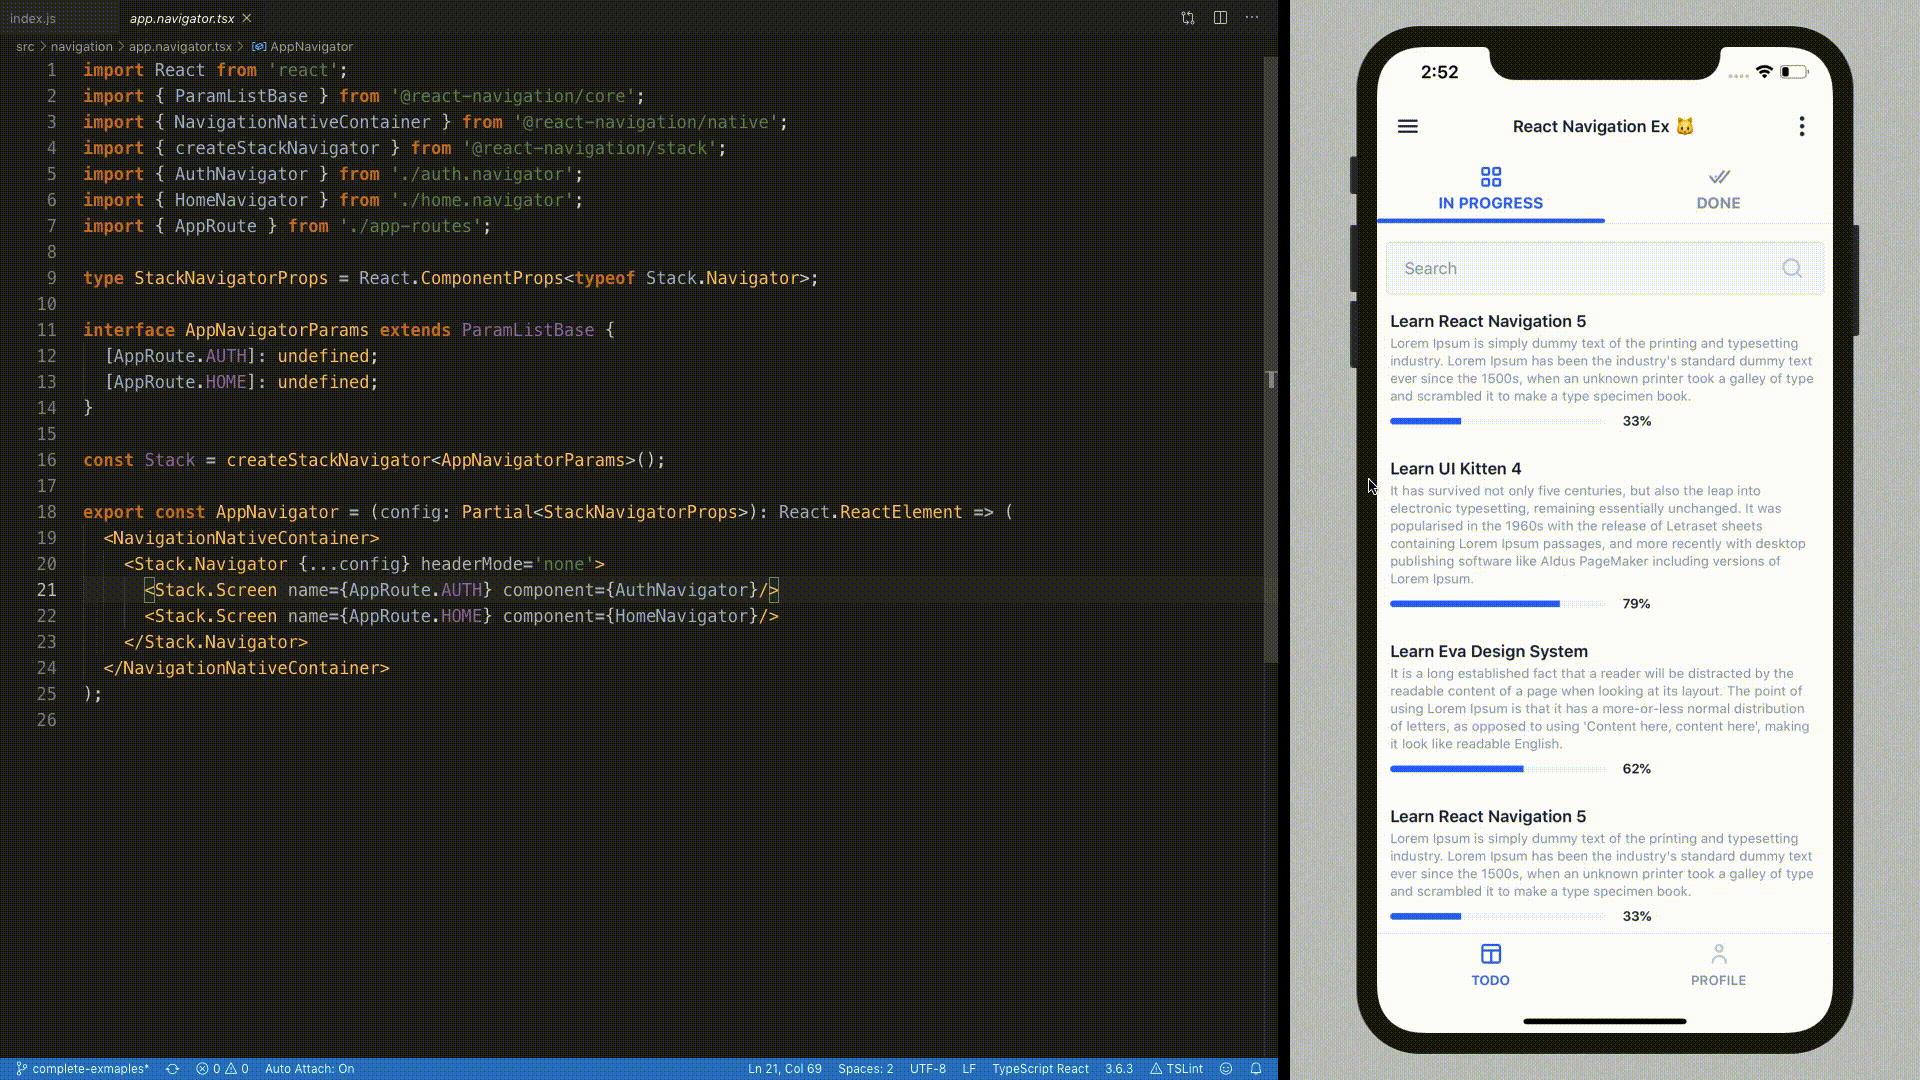
In ./src/navigation/app.navigator.tsx file and replace the placeholder screen with Auth Navigator. This will make authentication screens to be the starter point of your app.
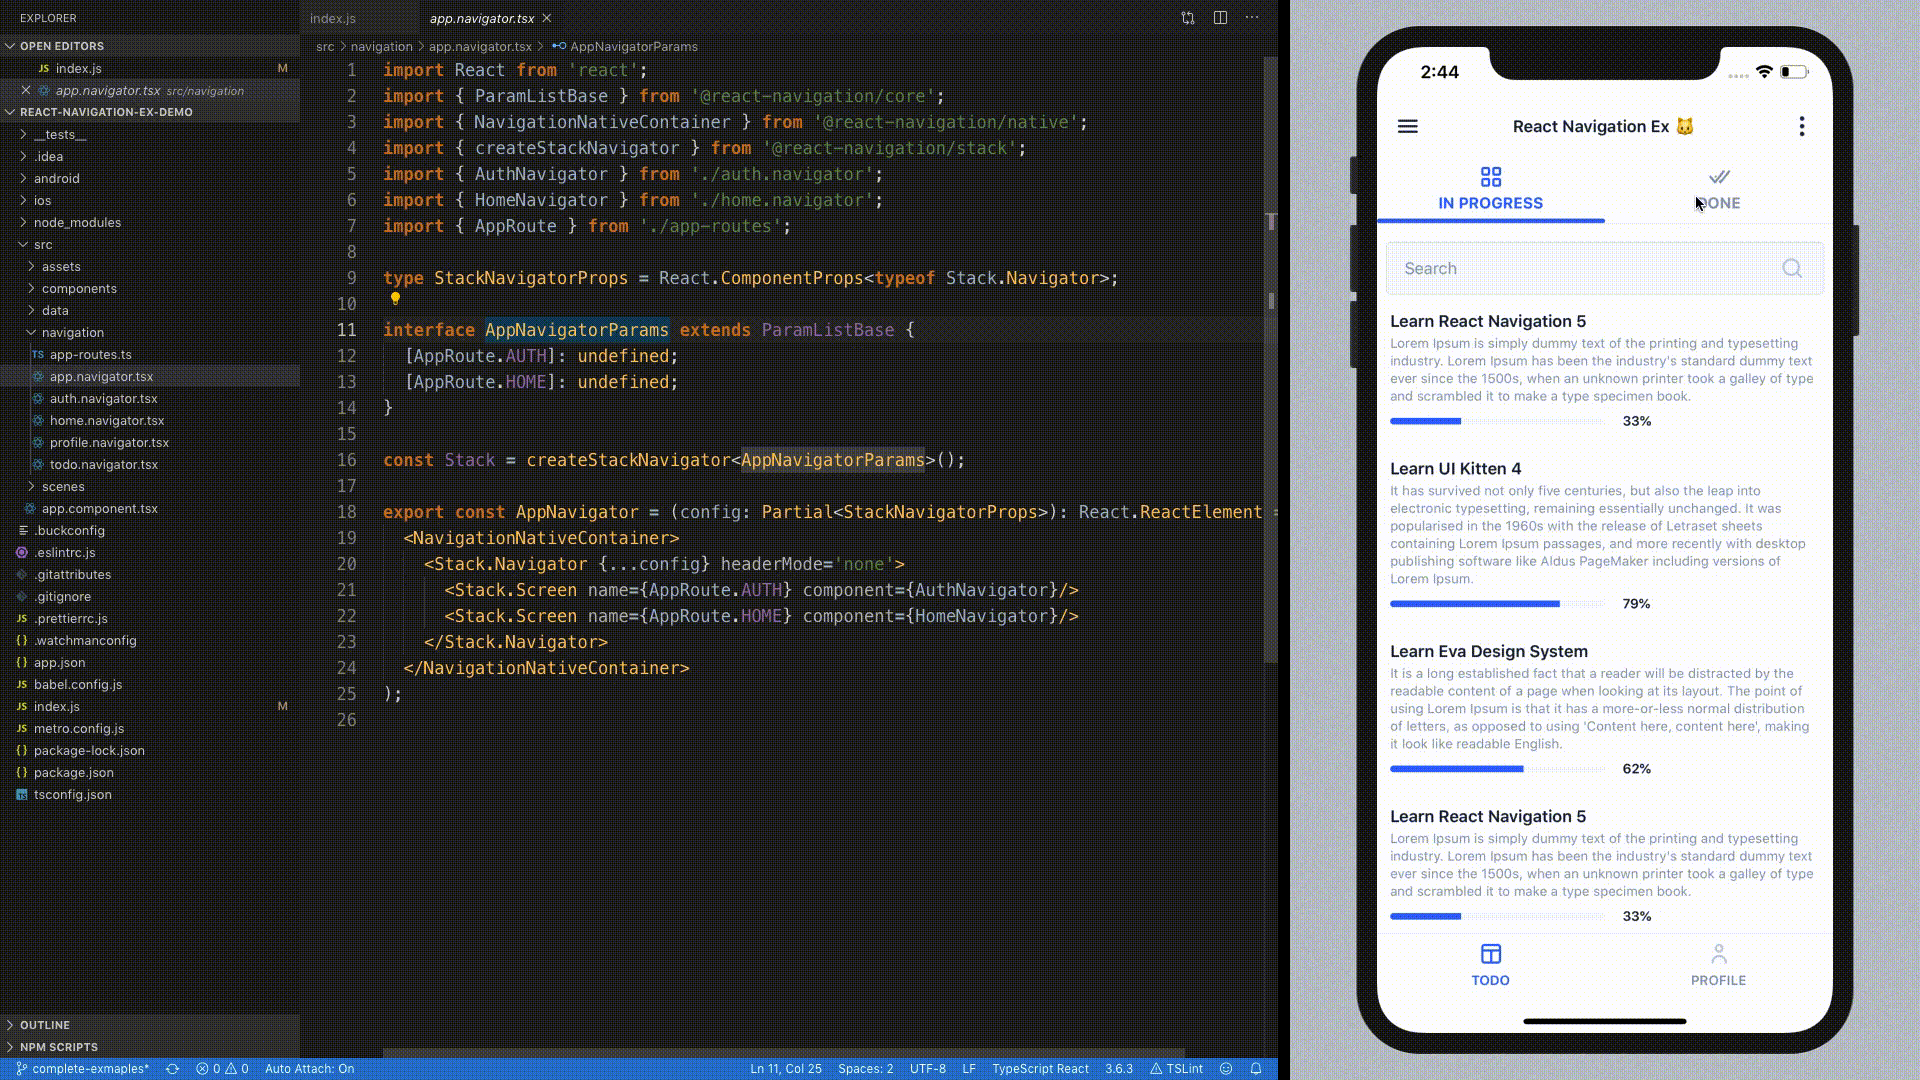
Step 2. Top tabs#
Say, our app has both in-progress and finished tasks. So, you should separate them to avoid a mess. Here you can make it with two tabs on the home screen. To do this, we need to have three screens: two for tabs and one master screen for navigation management between tabs. Unlike the Stack Navigator component, the Top Tabs Navigator has a special prop for the component to control navigation between tabs - tabBar. We will use it to configure the tab bar with UI Kitten components.
Open ./src/navigation/todo.navigator.tsx` file and paste the following code:
The code above will enable you to navigate with gestures between In Progress screen and Done screen, but not set up the Tab Bar. Open ./src/scenes/todo/todo-tab-bar.component.tsx file and paste the following code:
With the code above we render TabBar component with two tabs inside: one per each screen inside TodoNavigator. Then, we use the React Navigation state to pass selectedIndex and onSelect props to navigate between screens. So, when the user taps one of the tabs, the TabBar component calls onTabSelect function and this is the place where we need to navigate to the corresponding route.
Finally, open app.navigator.tsx file and add the TodoNavigator as a Home screen. Now you're able to navigate the home screen with todo tabs after sign in.
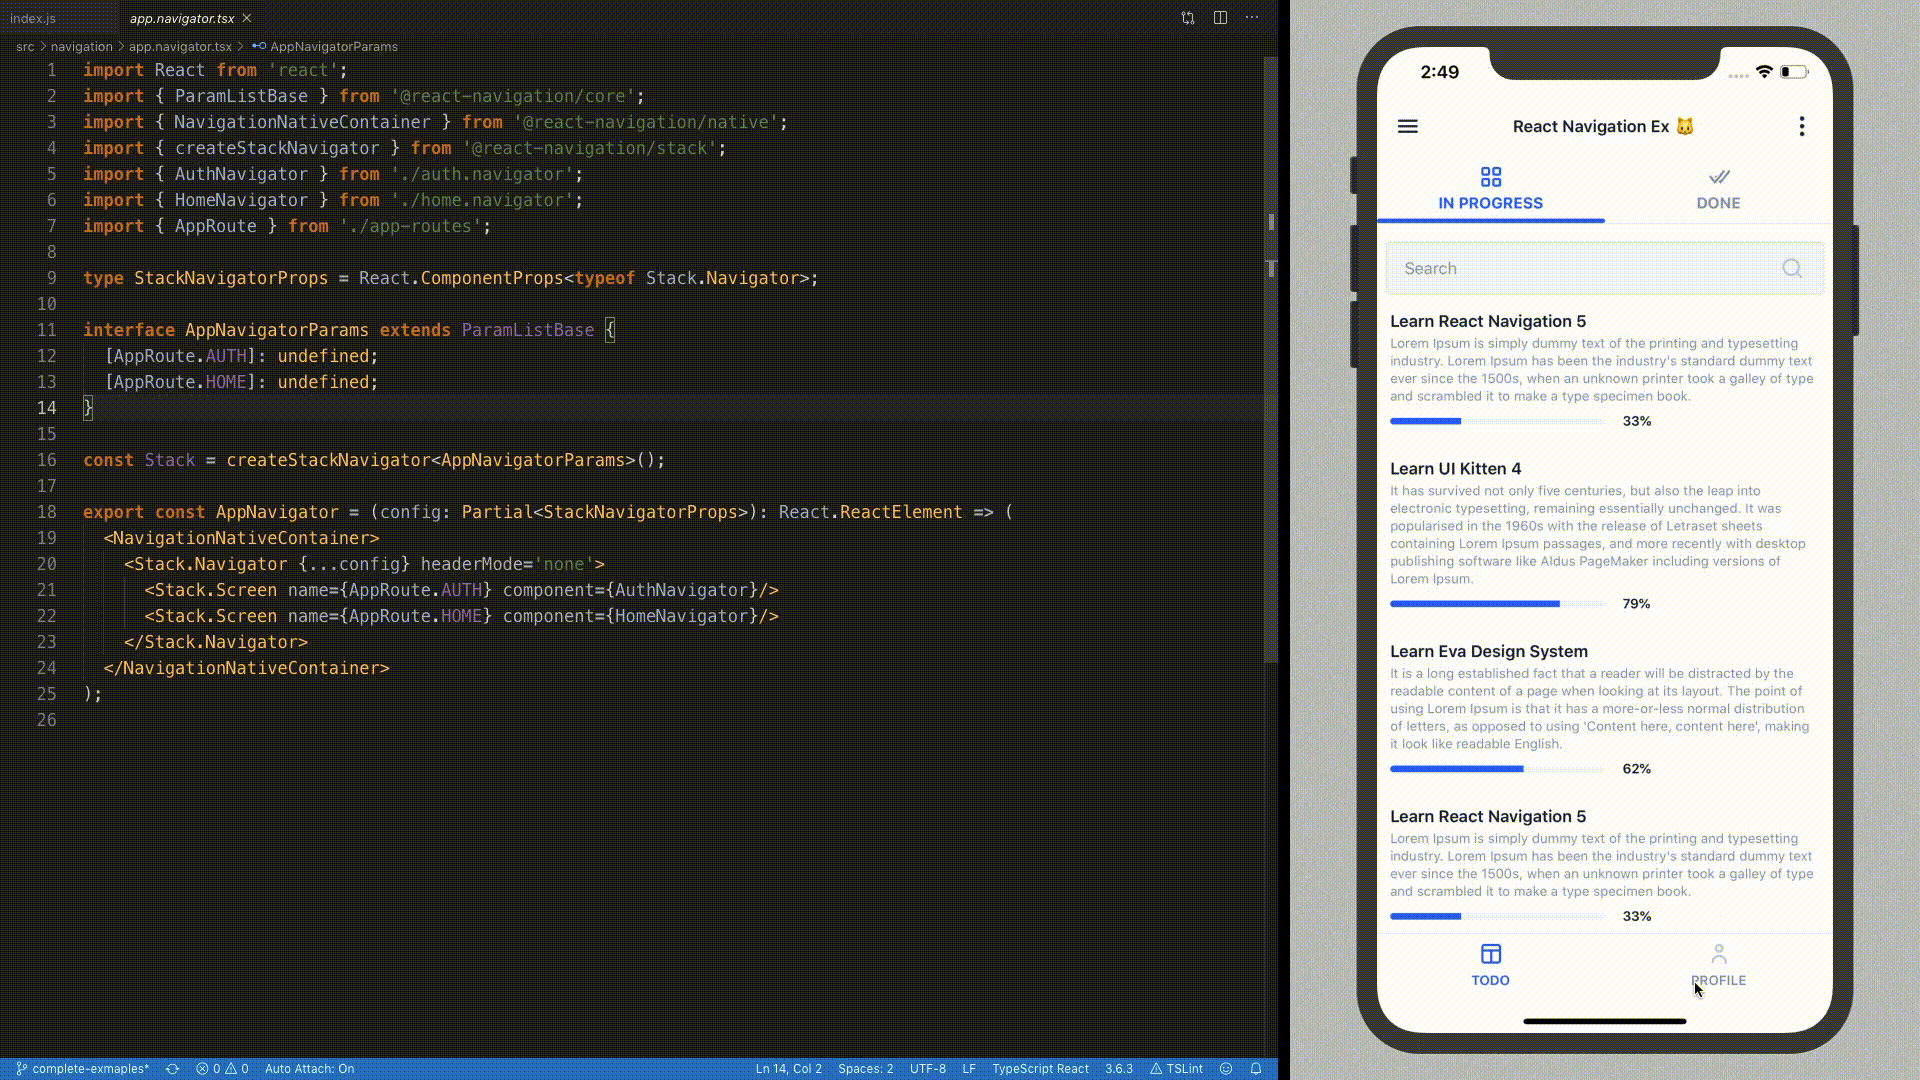
Step 3. Bottom tabs#
Sometimes you may want your app to contain tabs at the bottom. Here is the main semantic difference regarding the tabs at the top: while they should represent the content of the same type, the bottom tabs could be used to show any content of your application. This is where we're going to use createBottomTabNavigator and BottomNavigation.
Let's start by creating another navigator for the second tab. The first one will be used for Todo screens. Open ./src/navigation/profile.navigator.tsx file and paste the following code:
This will add a simple stack navigator, just like we did it for authentication flow.
Now we need to somehow connect TodoNavigator with ProfileNavigator . The implementation is as simple as creating a navigator for top tabs. Thanks to React Navigation, we have totally the same API for this. Open ./src/navigation/home.navigator.tsx file and paste the following code:
Just like in the case with tabs at the top, we also need to make a custom tabBar. Open ./src/scenes/home/home-tab-bar.component.tsx file and paste the following code:
Using the code above we render BottomNavigation component with two tabs inside: one per each screen inside HomeNavigator. We use the React Navigation state to pass selectedIndex and onSelect props to navigate between screens. So, when the user taps one of the tabs, the BottomNavigation component calls onSelect function. Well, this is the place where we need to navigate to the corresponding route.
Then, open app.navigator.tsx file and replace the TodoNavigator with HomeNavigator:
Step 4. Drawer menu#
At the final stage of this guide, we will describe how to create the drawer navigation. While the top and bottom tabs can be used to present the main product features, a drawer menu can be also used to direct a user to legal information about it, or simply contain quick actions like a logout.
Usually, the drawer menu is available in app on the home screen, so let's add it to HomeNavigator. Open ./src/navigation/home.navigator.tsx file and paste the following code:
In this example, we've implemented a Drawer Navigator with createDrawerNavigator and used it to display on the Home screen. We have also added AboutScreen to demonstrate navigation directly from the Drawer menu.
Just like Top/Bottom tab navigators, the drawer navigator also has a special property for declaring custom drawer view. Use a drawerContent property to pass the custom view to the navigator. Open ./src/scenes/home/home-drawer.component.tsx file and add the following code:
Due to the use of this code, we render Drawer component with two actions inside: one for navigating to legal information screen and one for performing a user logout. Then, we pass data prop to display our actions and onSelect prop to handle it. So, when the user taps the action, the Drawer component calls onMenuItemSelect function and this is the place where we need to handle it.`
The next thing to do is to modify the Todo tab bar by adding a menu icon to open a drawer. Open ./src/scenes/todo/todo-tab-bar.component.tsx file and paste the following code:
TypeScript#
The new React Navigation has great TypeScript support and exports type definitions for navigators and custom navigation components. Sometimes you may want to type-check the params you're passing when navigating between routes. You also may want to make autocomplete work when working with navigation props.
Let's add some type definitions for Auth screens. For this purpose, open ./src/navigation/auth.navigator.tsx and paste the following code:
Now you can modify props of Auth screens props by adding types to make your autocomplete and IntelliSense work. For more complex examples, consider reading type-checking doc or reviewing complete demo application sources.
Useful links#
By the links below, you can find a lot of useful information about UI Kitten and React Navigation 5. The demo application may contain more complex examples. Also, by referring to the app built by the React Navigation team, you can find plenty of useful examples too.